-default.png)
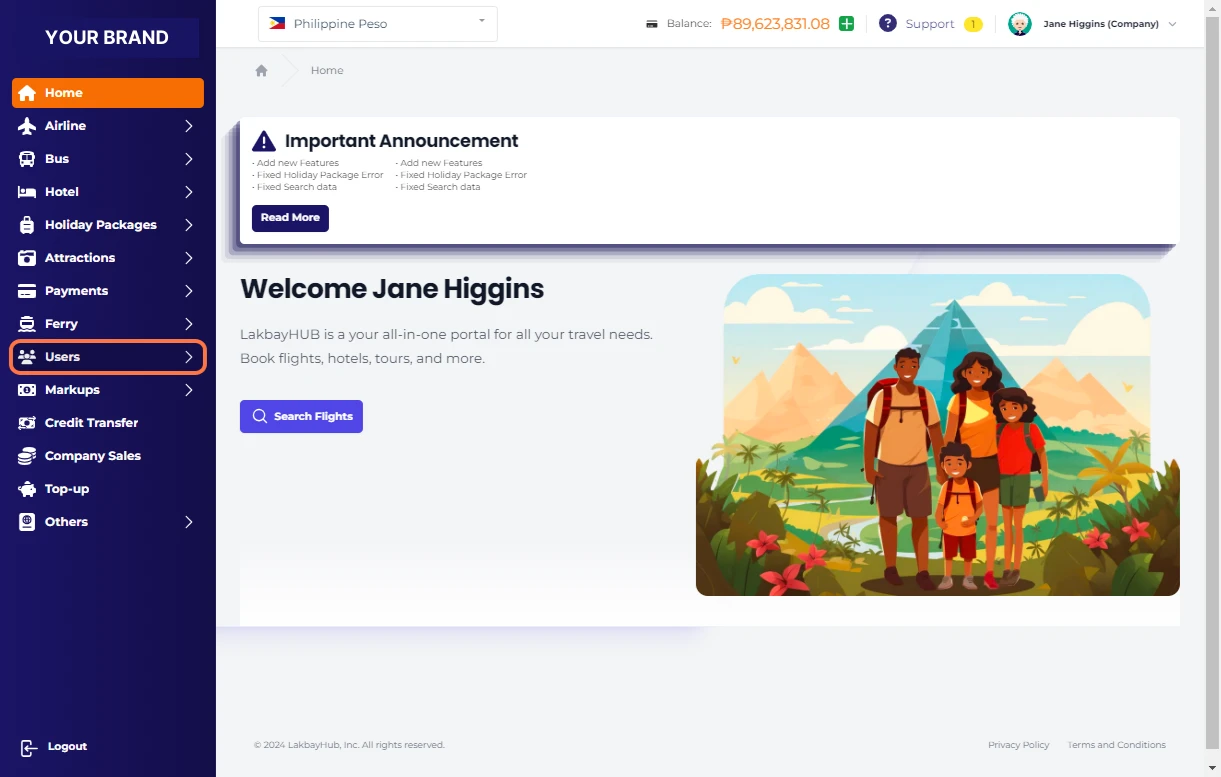
Click on Home

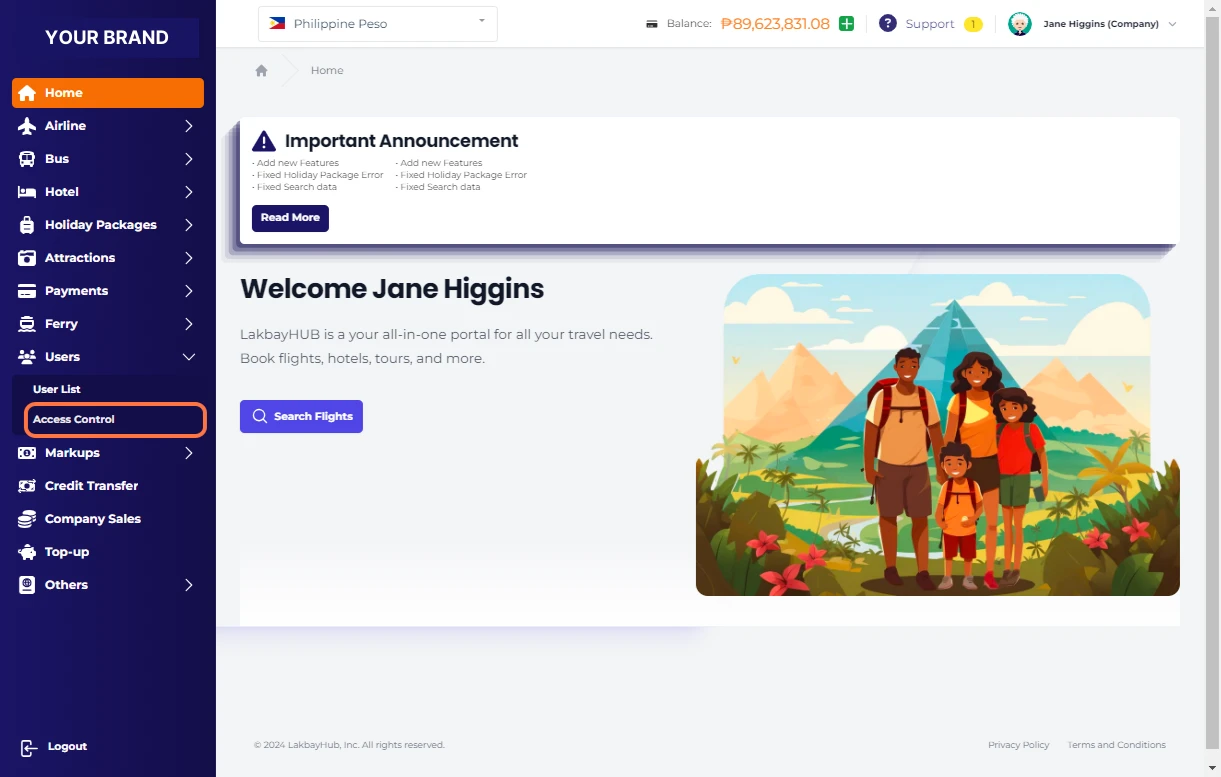
Click on Users
Click on Access Control
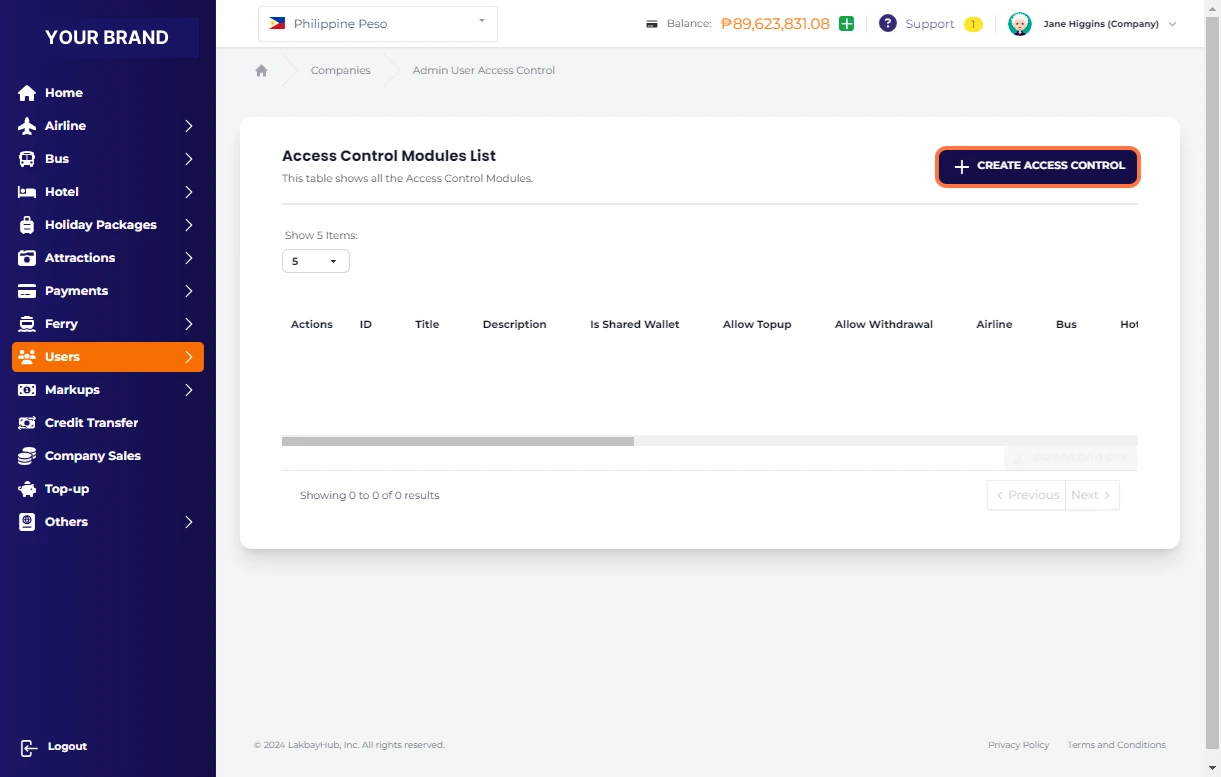
Access Control Modules List

Click on CREATE ACCESS CONTROL
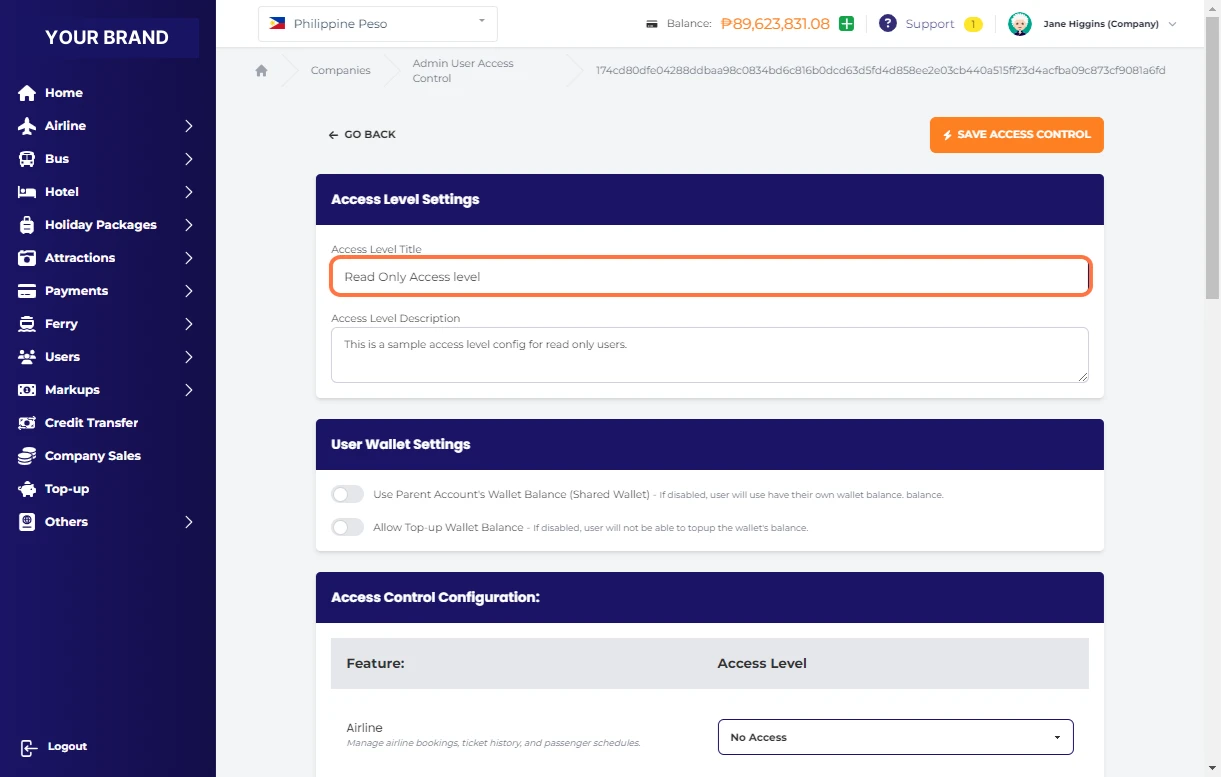
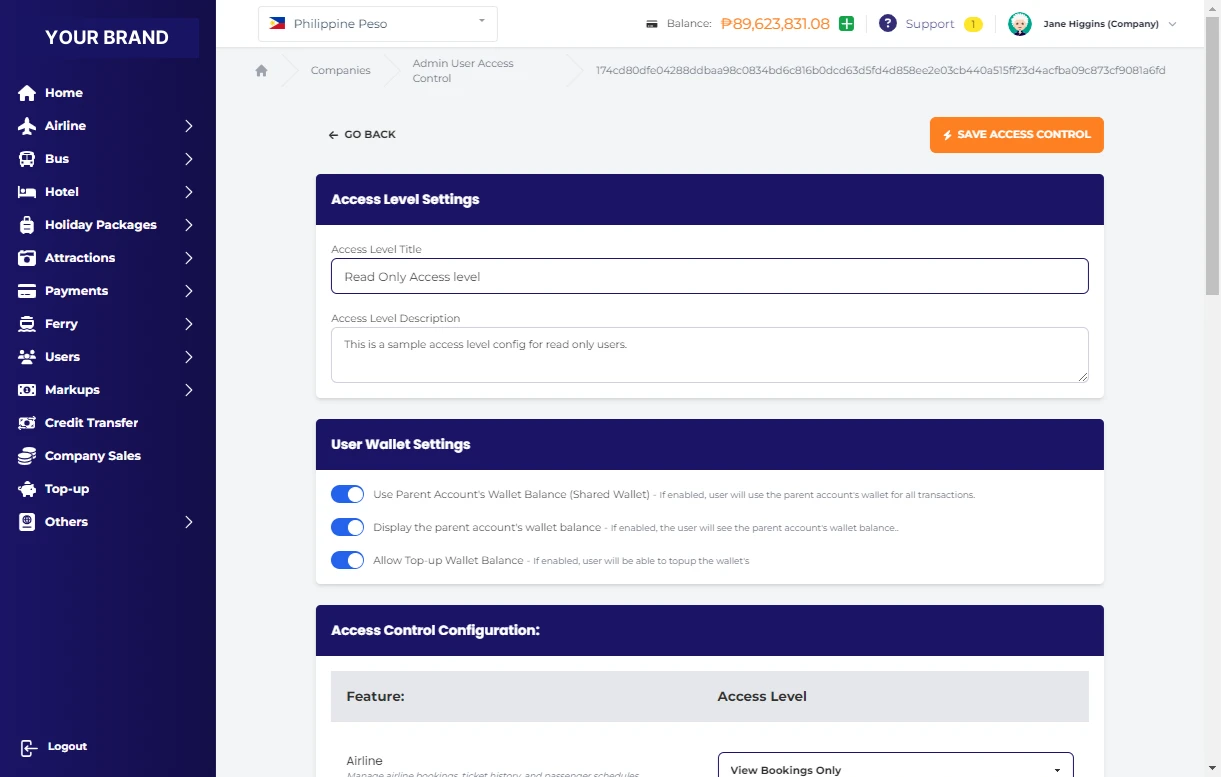
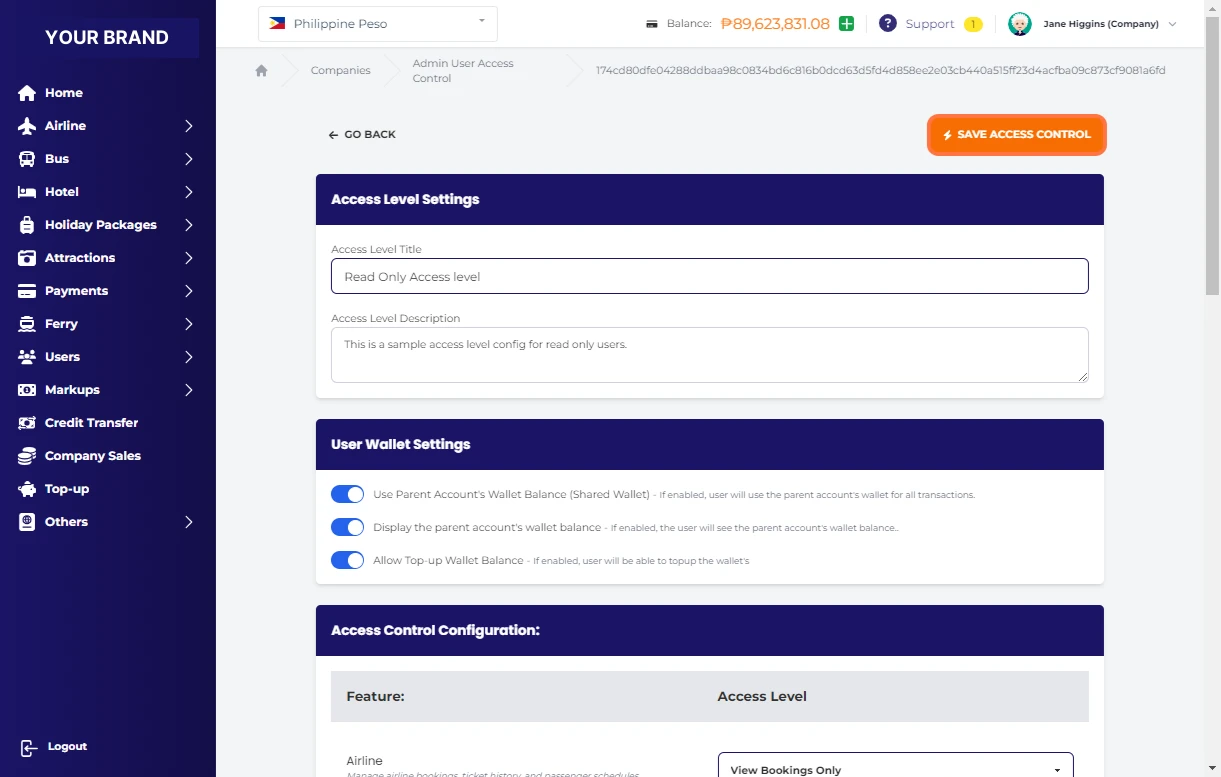
Access Level Settings
we will set "Read Only Access Level" settings in this sample
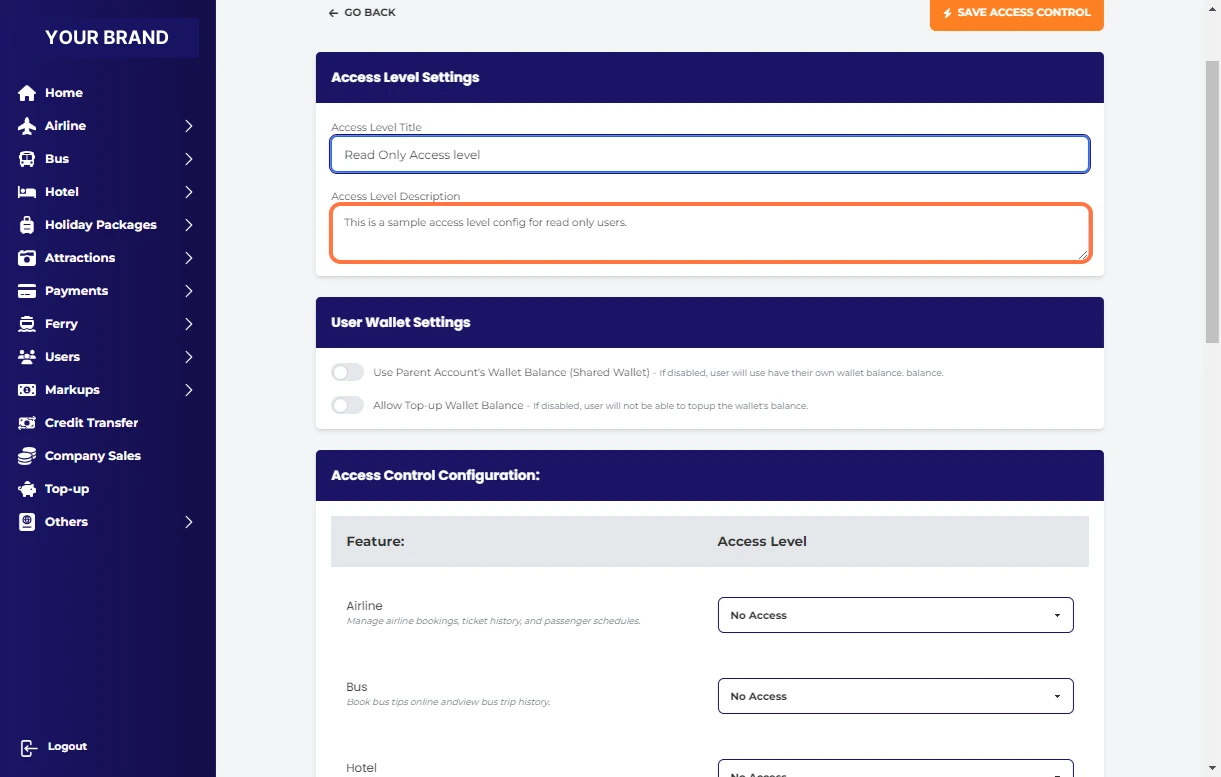
Click and enter your Access Level Description
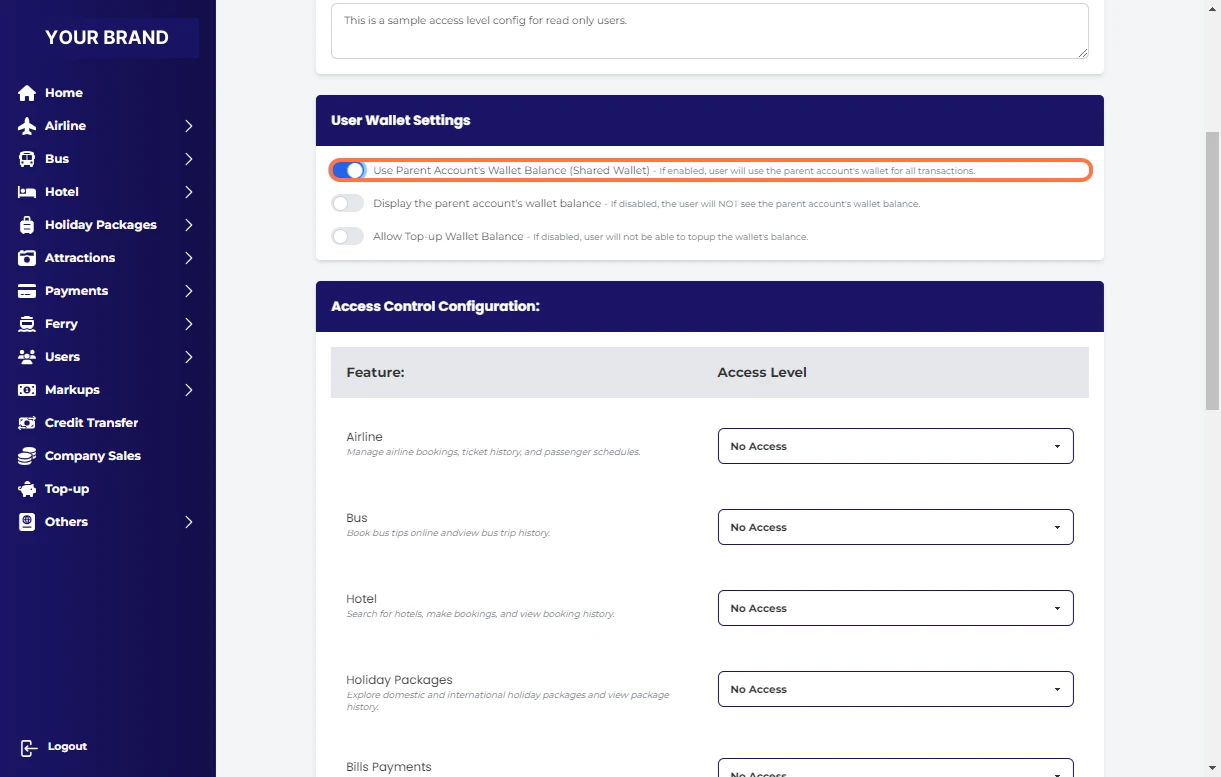
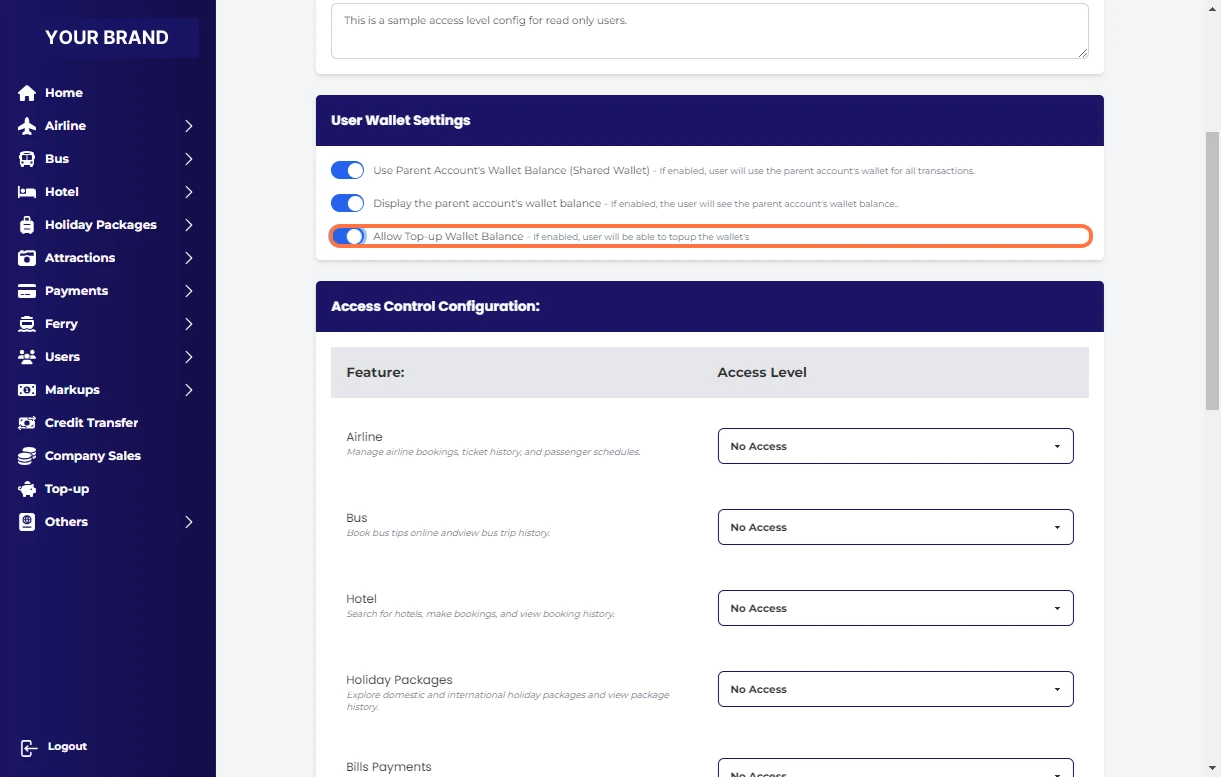
Check Use Parent Account's Wallet Balance (Shared Wallet) - If enabled, user will use the parent account's wallet for all transactions.
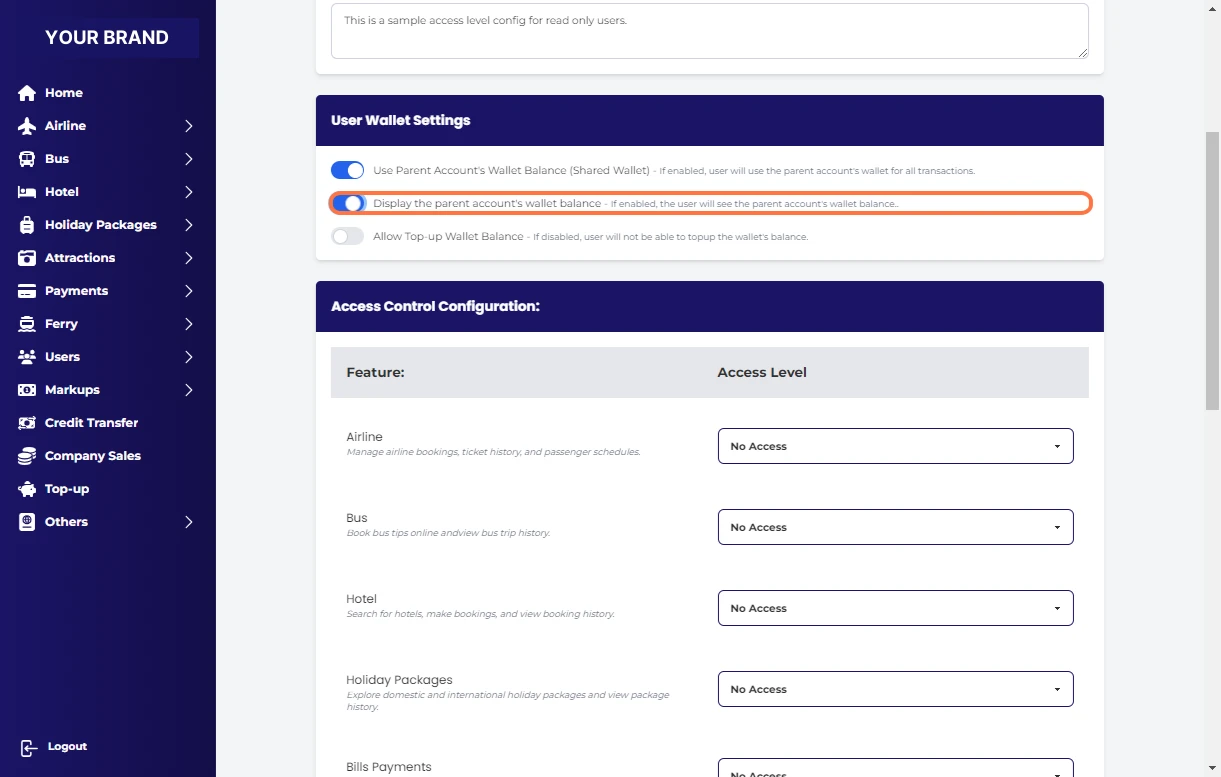
Check Display the parent account's wallet balance - If enabled, the user will see the parent account's wallet balance
Check Allow Top-up Wallet Balance - If enabled, user will be able to topup the wallet's
Select View Bookings Only for Airline

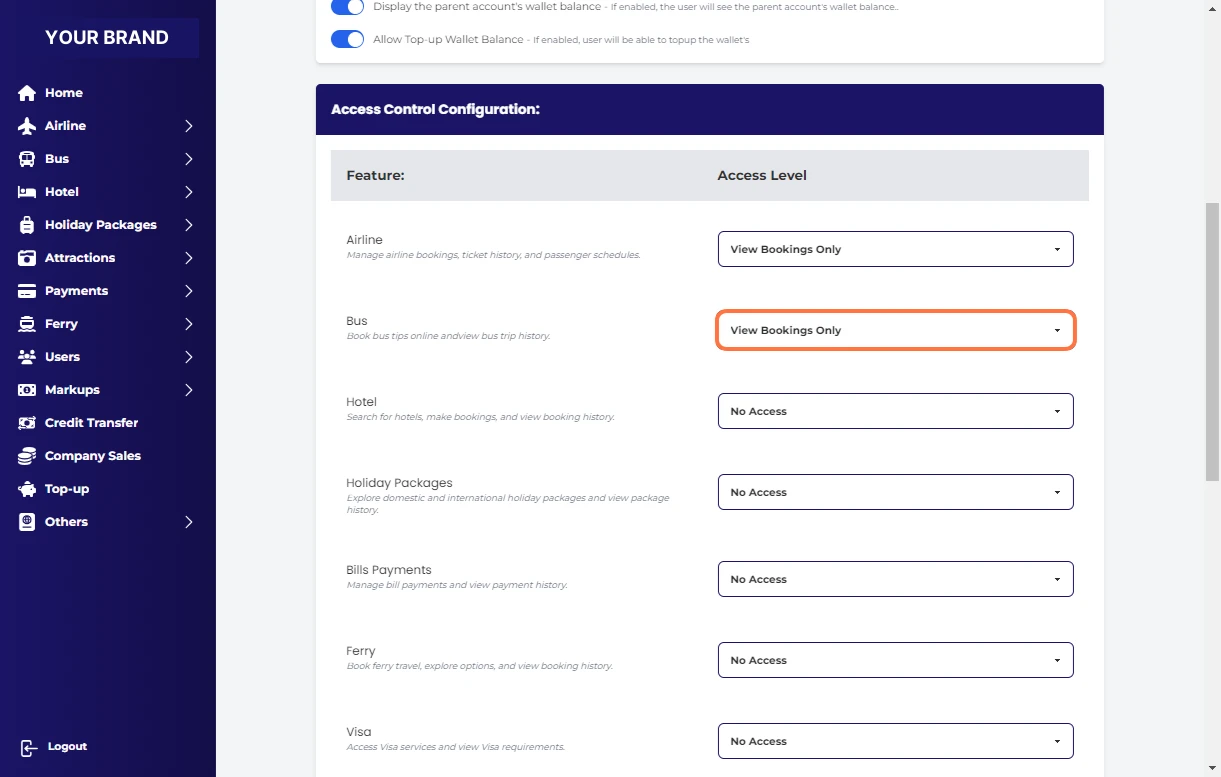
Select View Bookings Only for Bus
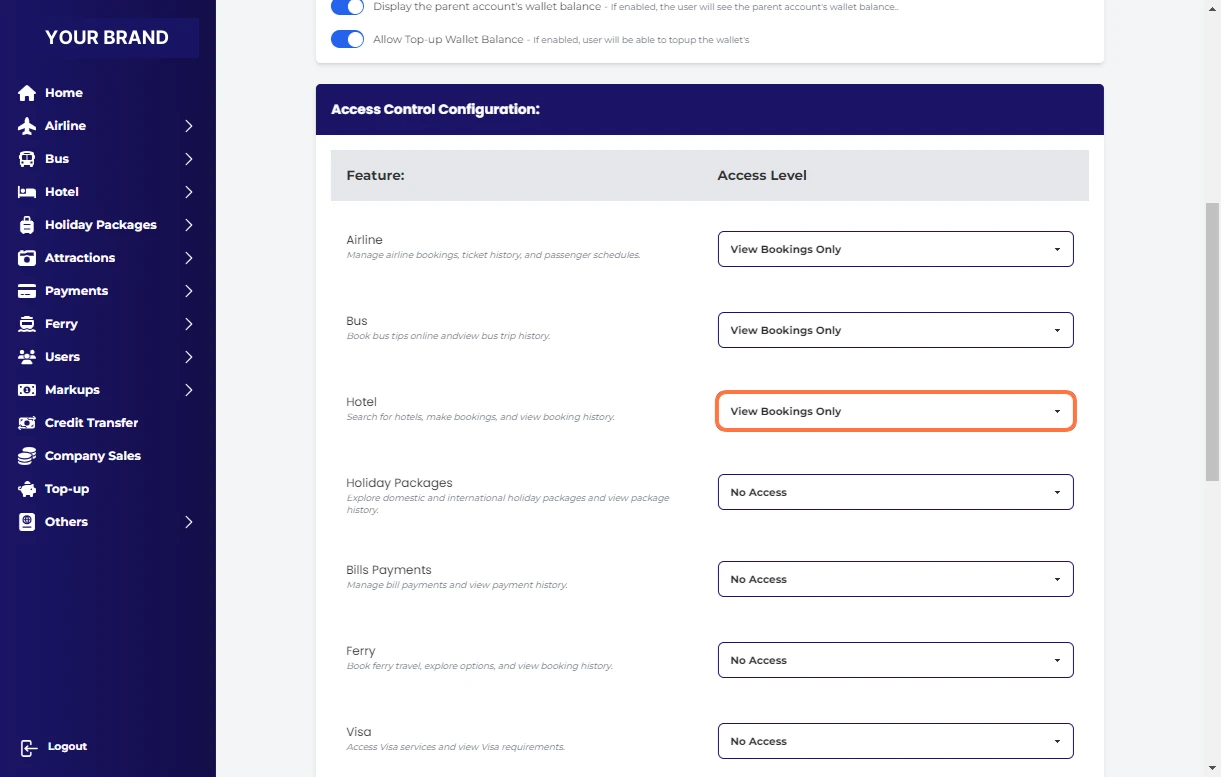
Select View Bookings Only Hotel
Select View Bookings Only for Holiday Packages

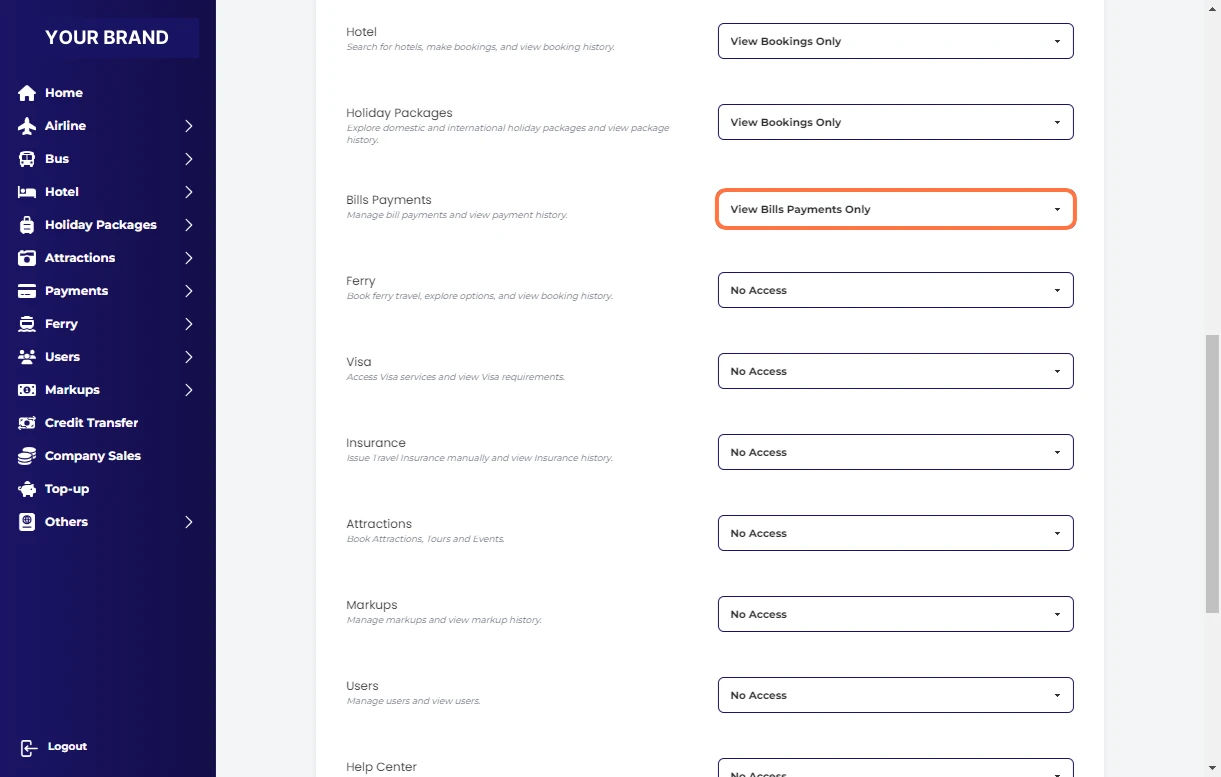
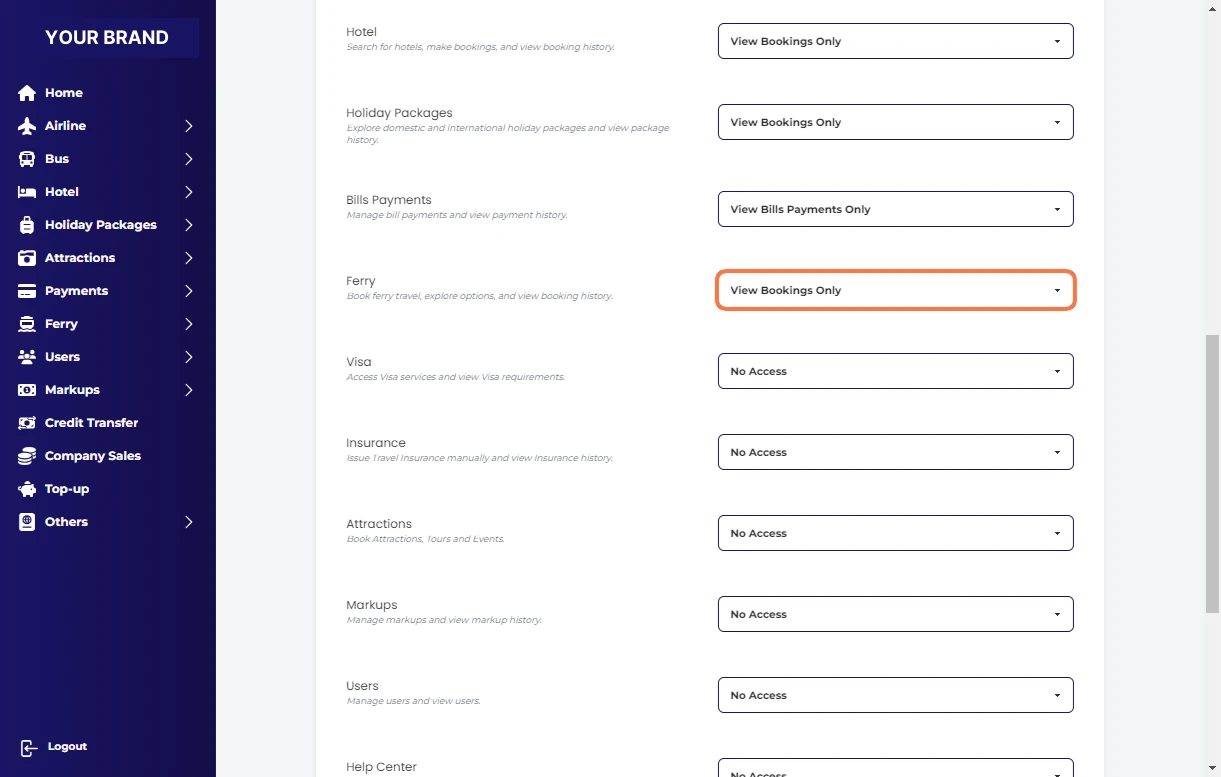
Select View Bills Payments Only for Bills Payments
Select View Bookings Only for Ferry
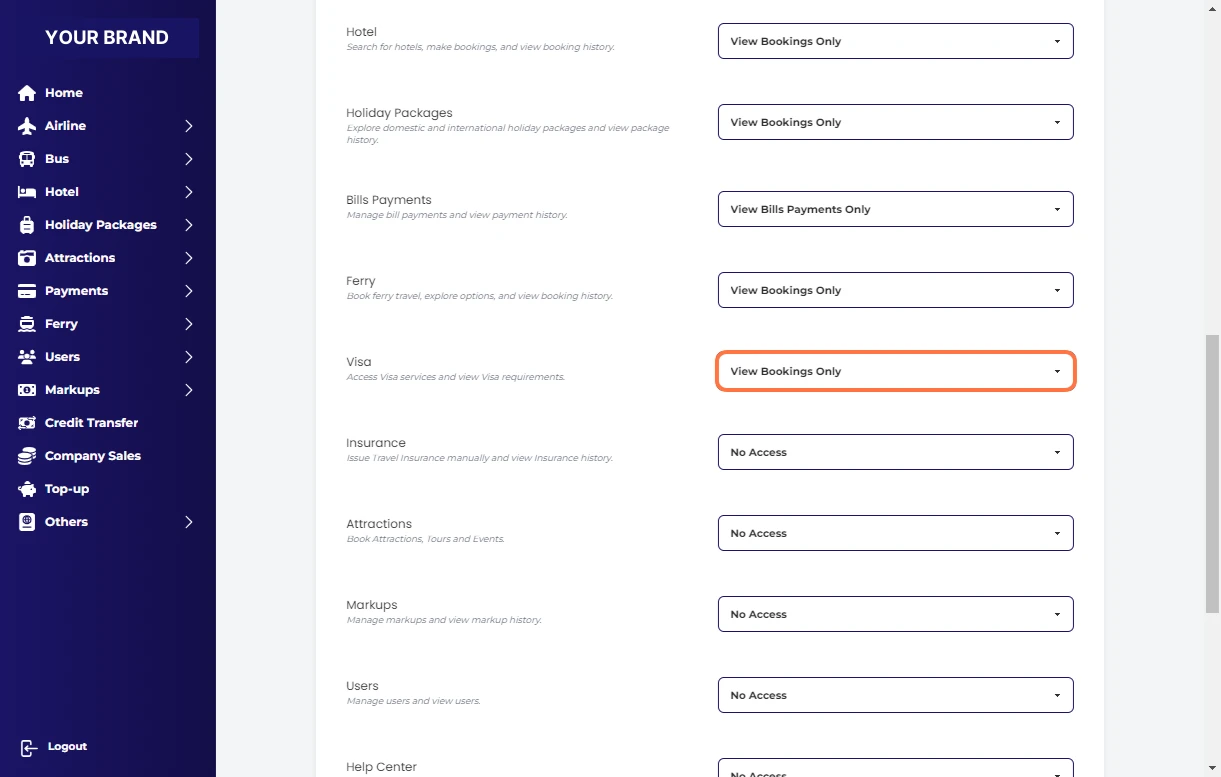
Select View Bookings Only for Visa
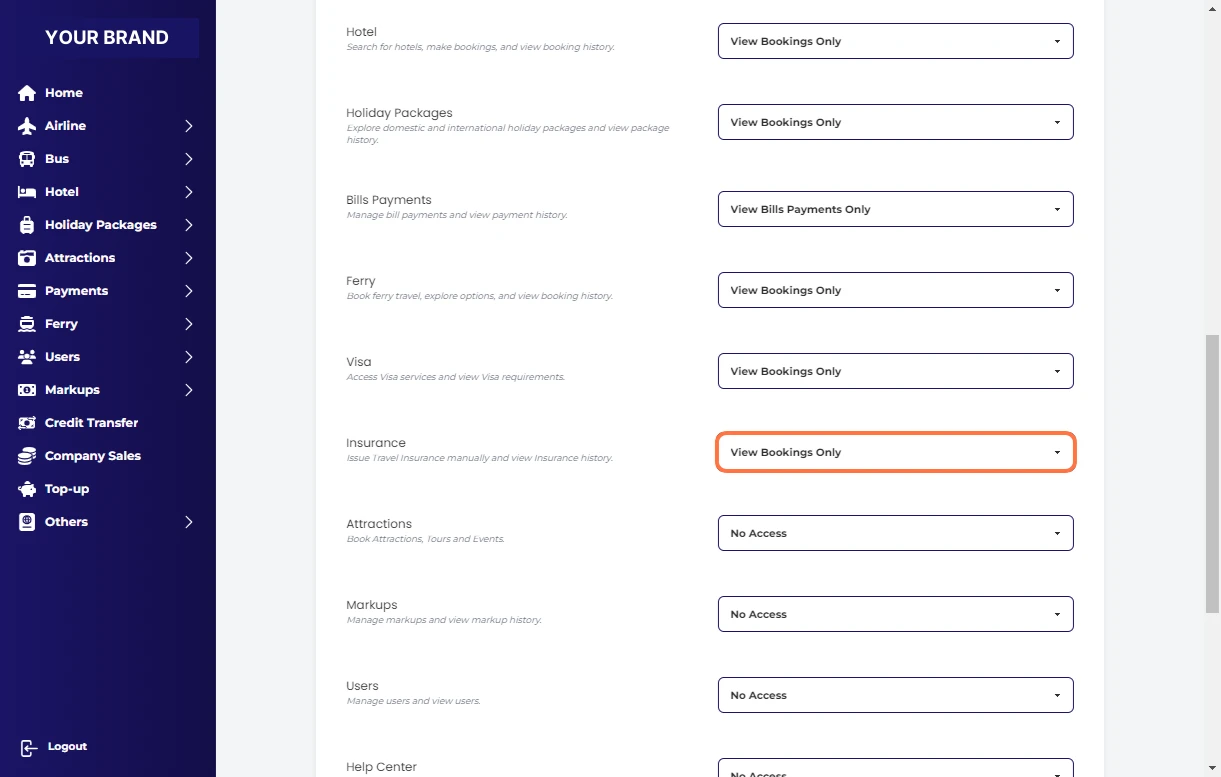
Select View Bookings Only for Insurance
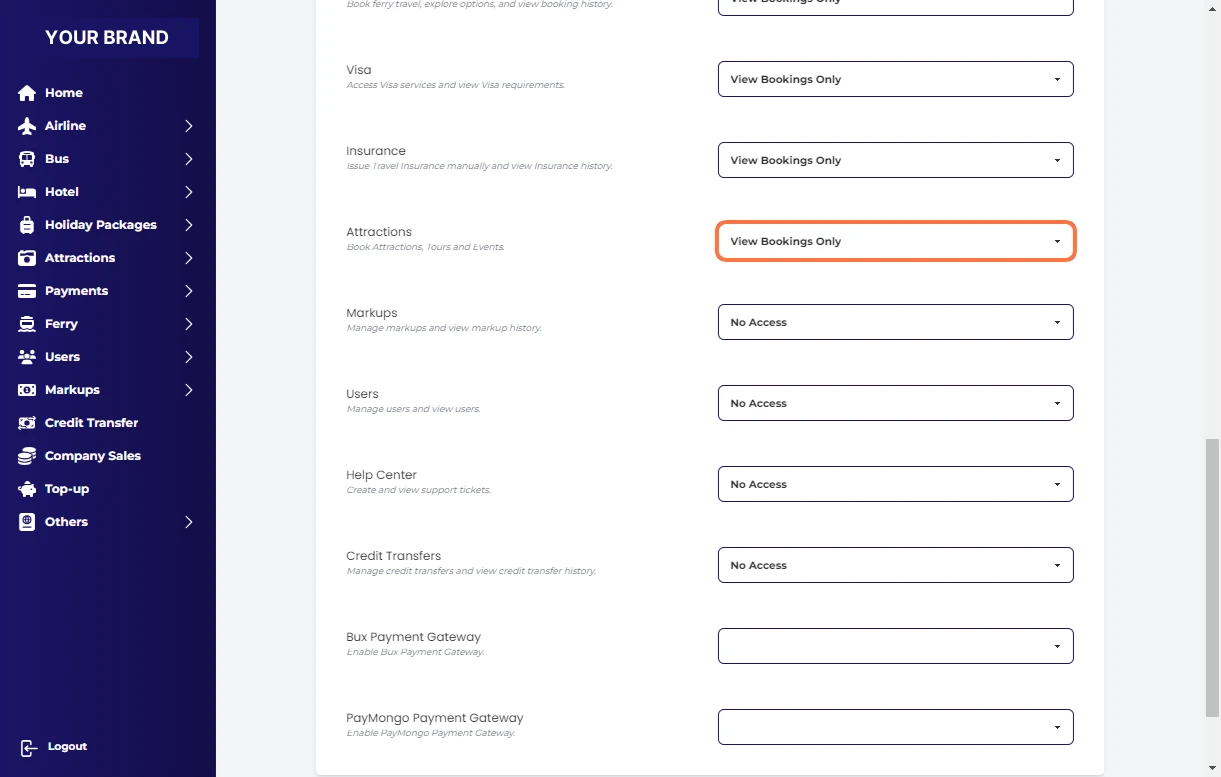
Select View Bookings Only for Attractions
Select View Only for Markups
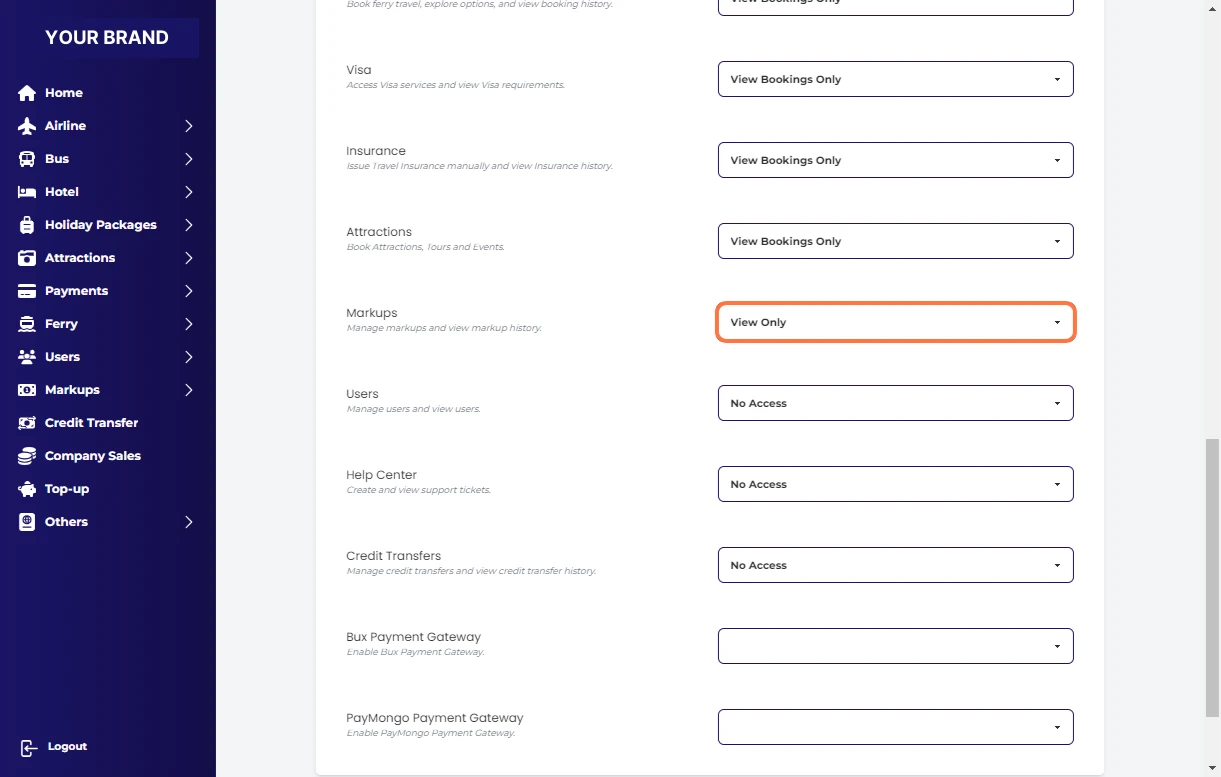
Select View Only for Users

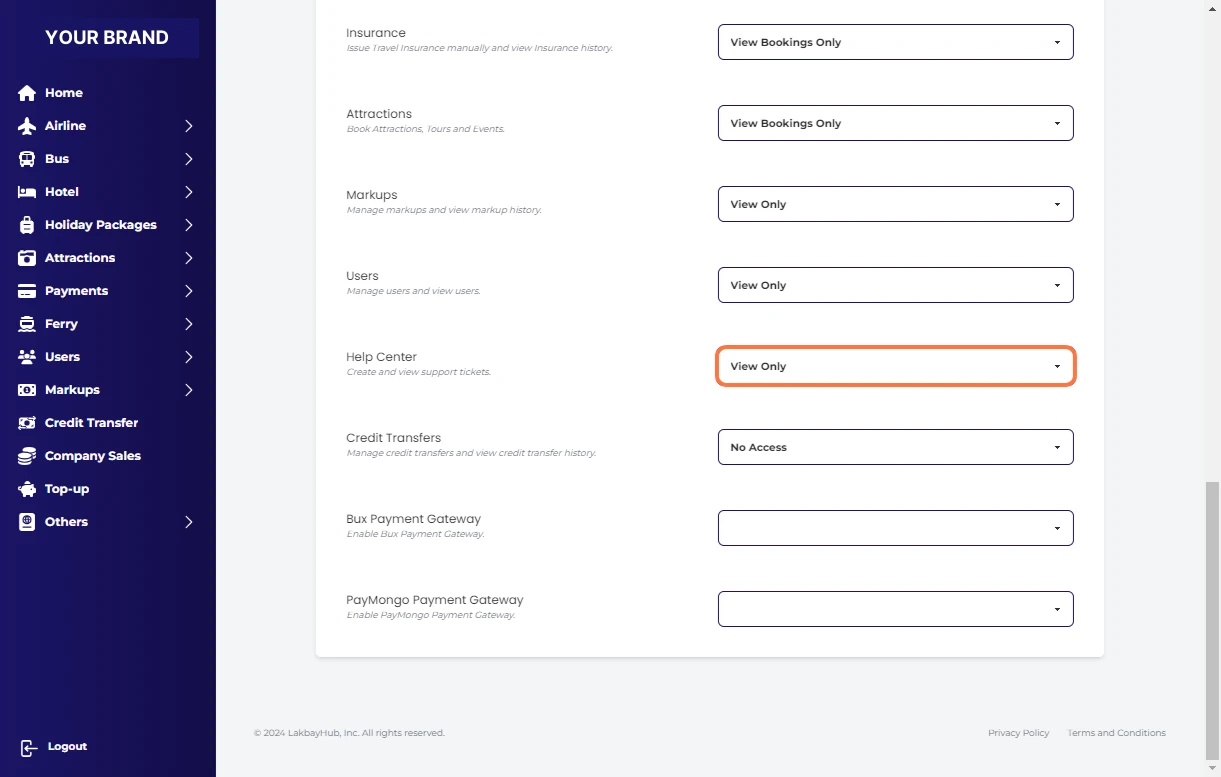
Select View Only for Help Center
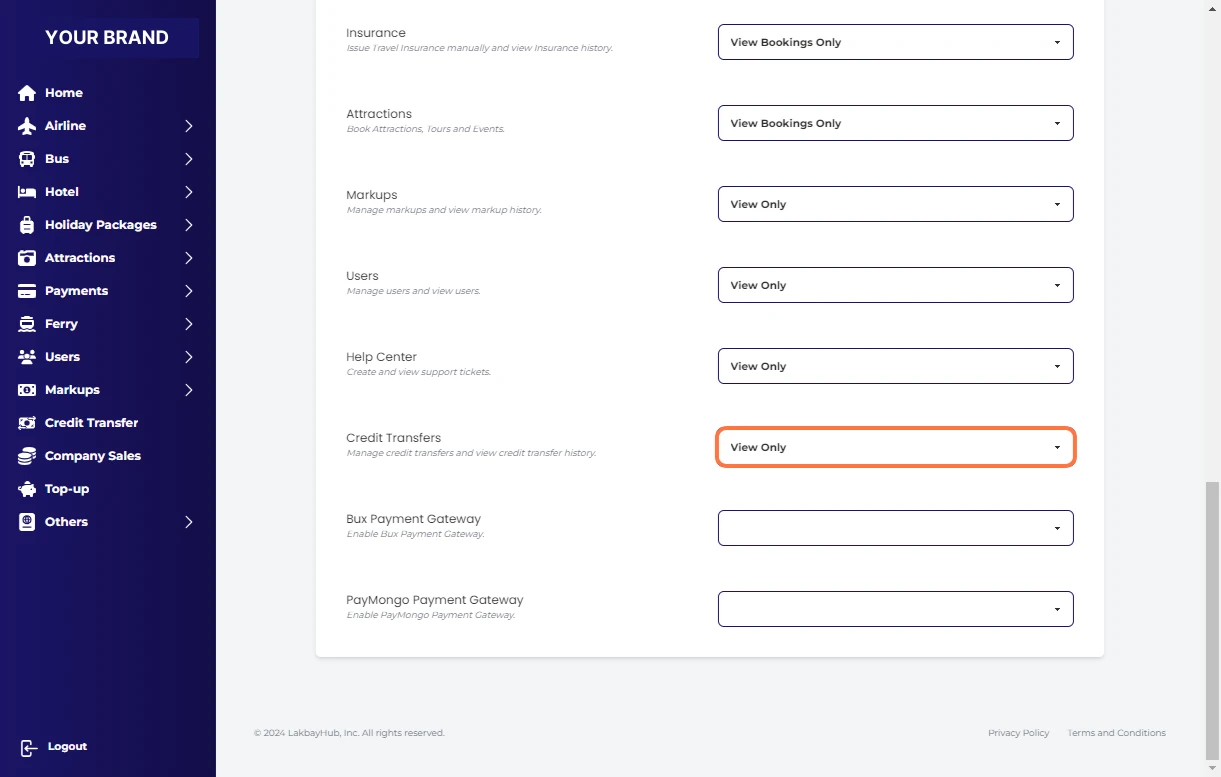
Select View Only for Credit Transfers
Go back at the top and click "save access control"
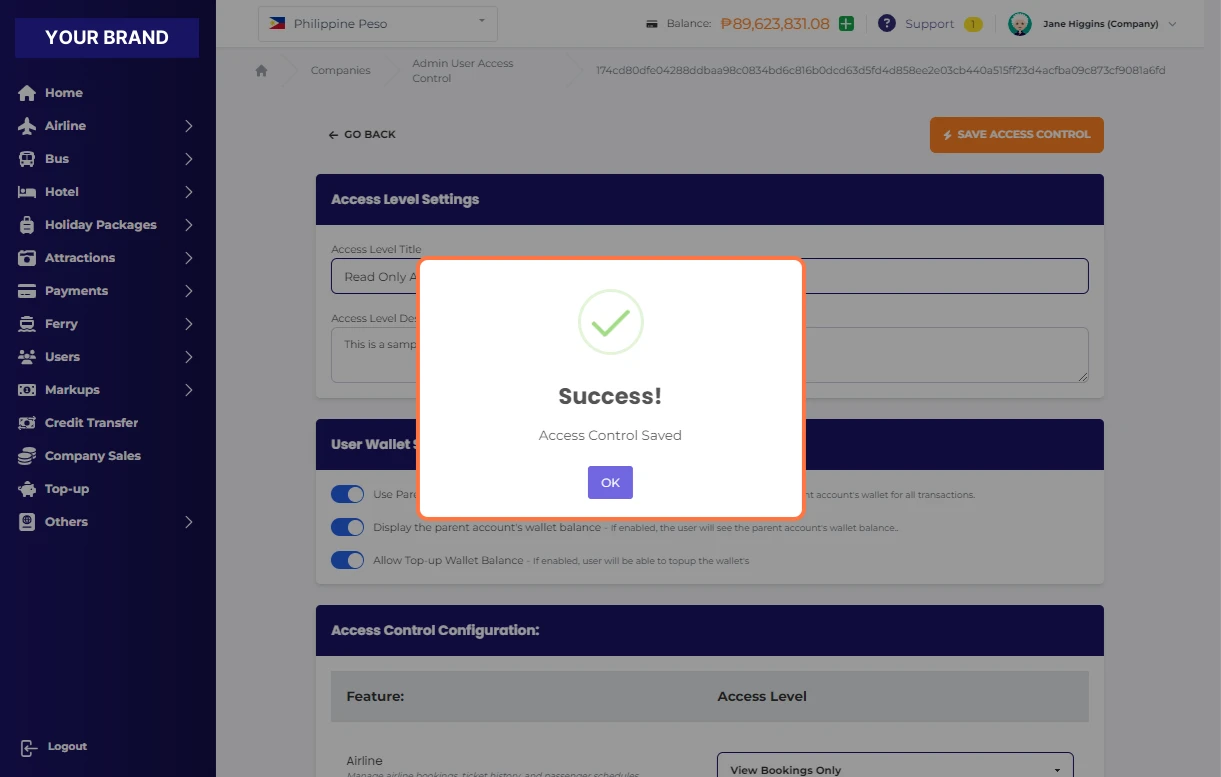
Click on SAVE ACCESS CONTROL
Click OK on Success!